Coffee Bar Essentials: A Layered Setup Checklist
The coffee bar essentials that earn their footprint, sorted into five layers: machine, prep, serving, consumables, and styling. Fourteen items, in order.
Skip to the goods in this piece (8) ↓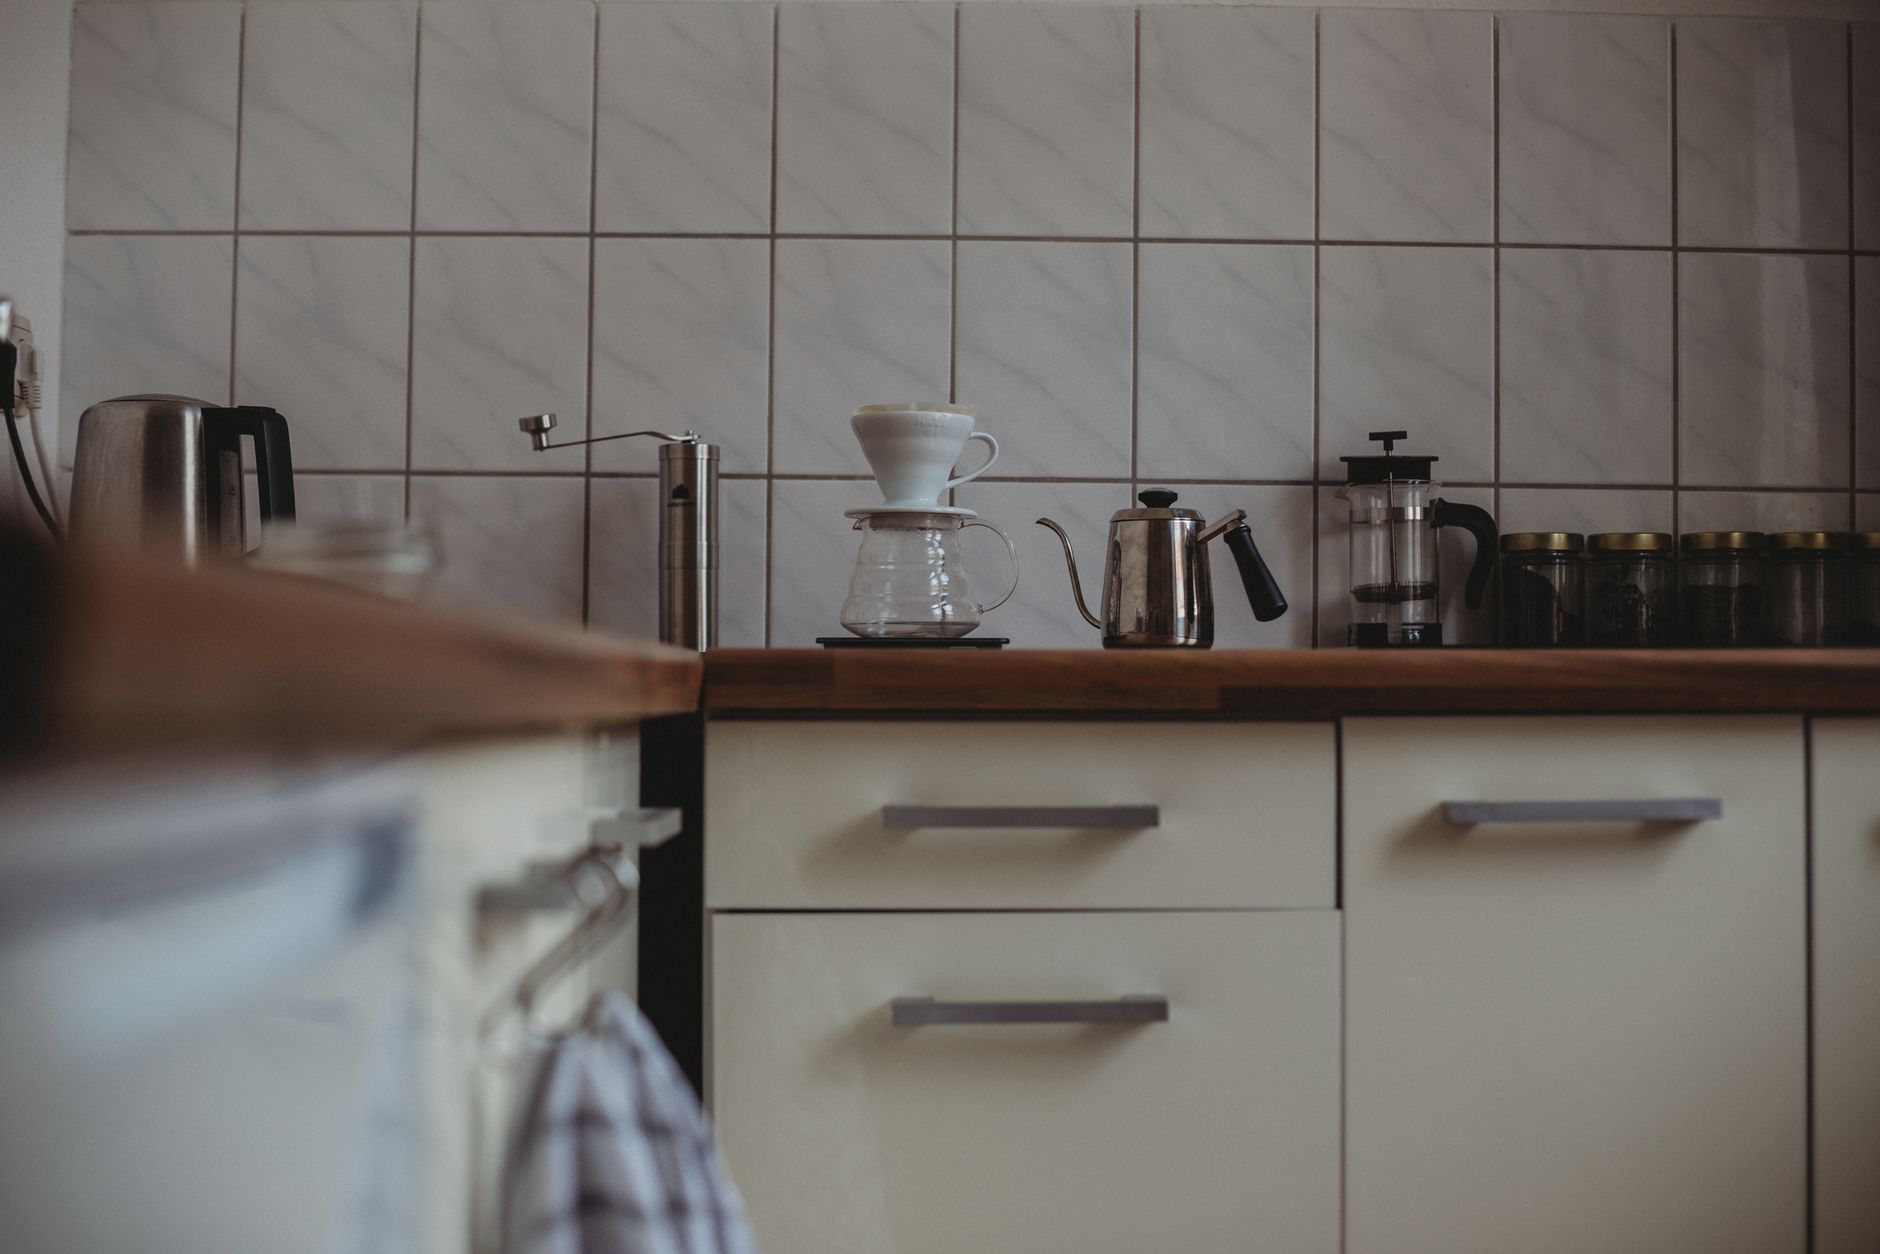
Most coffee bar essentials lists are a photograph of somebody’s counter with product links attached, which is why they include a marble tray and skip the scale. A more useful way to build a station is in layers: the machine, the prep gear that feeds it, the serving pieces, the consumables and where they live, and only then the styling. Work in that order and the counter stays functional as it fills up.
Layer one: the machine, and picking one lane
The most common mistake on a home coffee station is running three brewing methods at once — a pod machine for weekdays, a drip carafe for guests, a pour-over kit for weekends — on a surface that comfortably holds one. Each method drags its own accessories along: pods want a drawer, drip wants filters and a carafe, pour-over wants a kettle and a scale and a dripper.
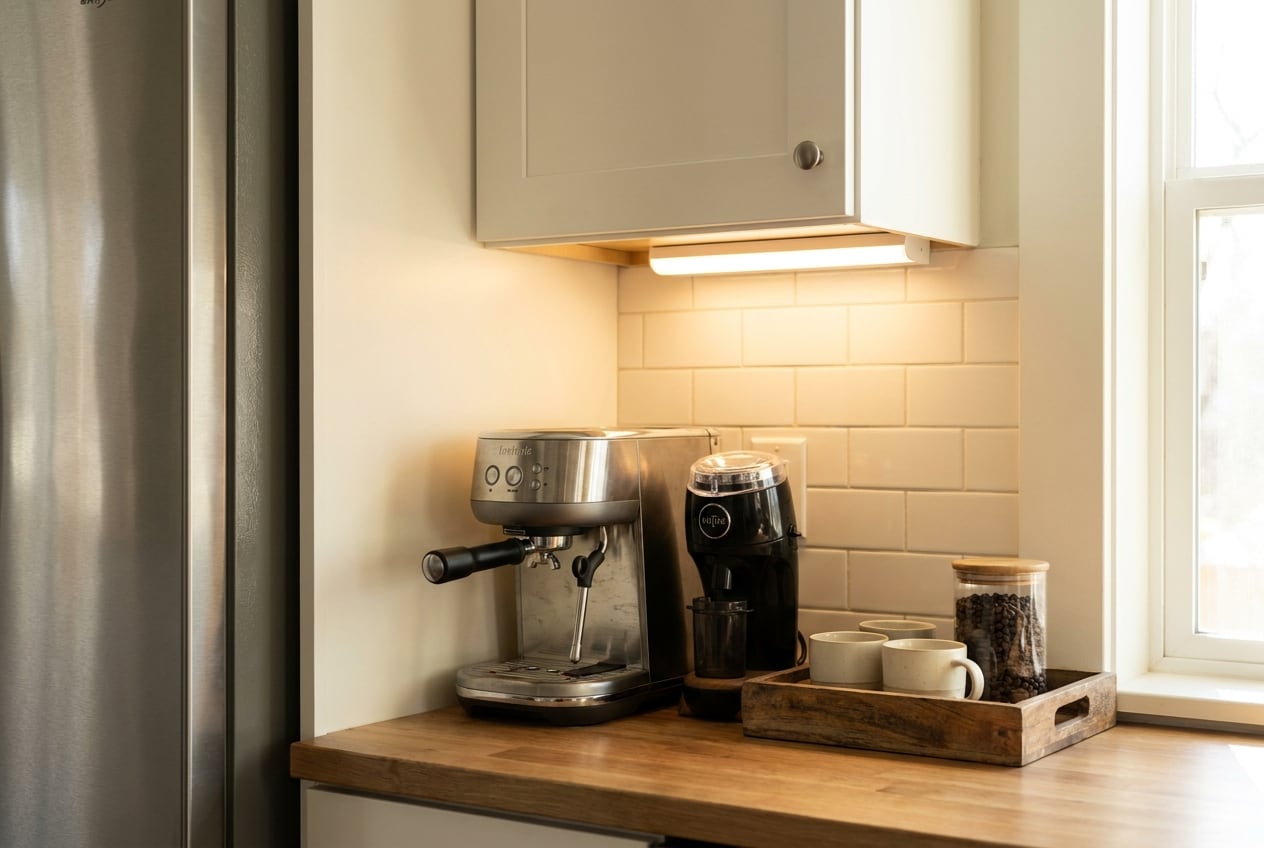
Pick the method you use five mornings a week and let it own the prime real estate. Anything else goes in the cabinet below and comes out when it’s wanted. On a 48-inch buffet you have room for one machine, one grinder, and a serving zone. On the 24-inch strip most people actually have, covered in mini coffee corner ideas, you have room for one machine and a tray.
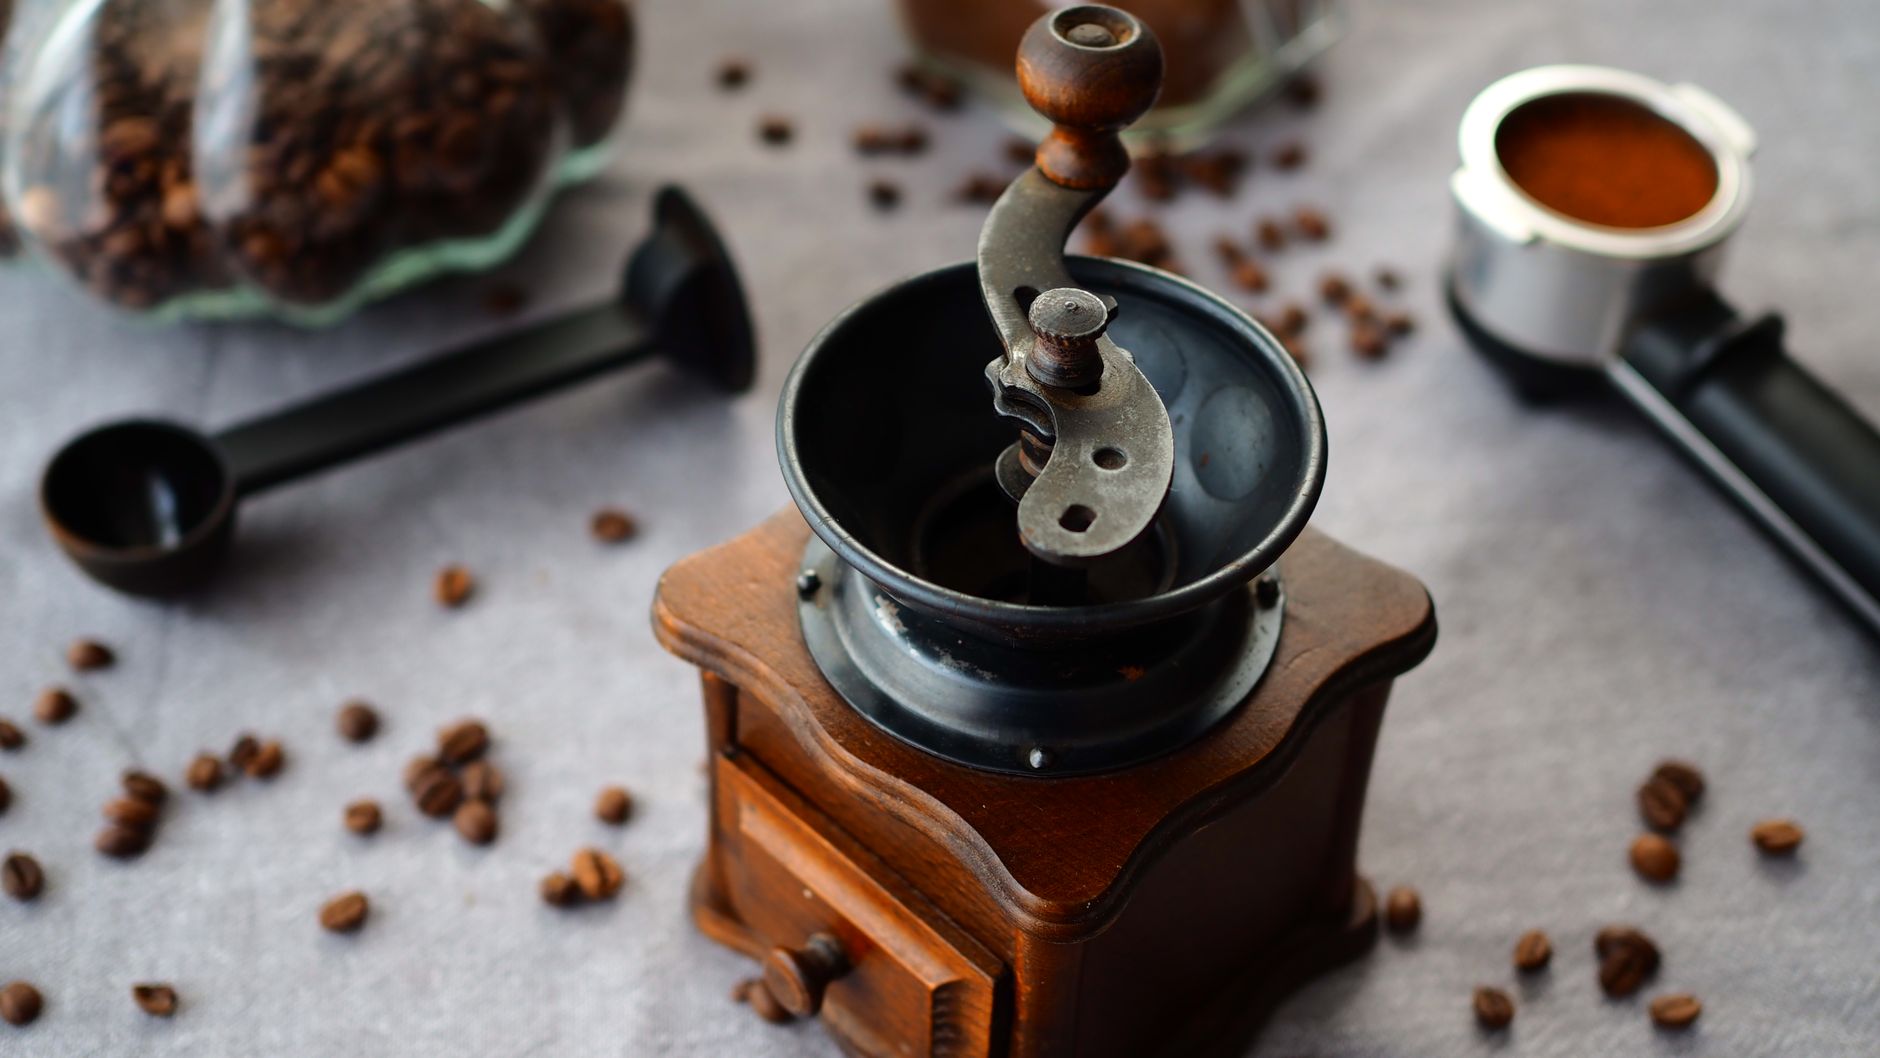
A burr grinder
If you buy one thing on this list, it’s this one. Blade grinders chop rather than mill, so a single batch comes out as both fine dust and coarse boulders. The dust over-extracts and tastes bitter, the boulders under-extract and taste sour, and both land in the same cup. A conical burr grinder mills to a consistent particle size, which is the entire mechanism behind the difference people describe as “café coffee.”
Two specs matter when comparing. Number of settings — 30 to 40 stepped settings covers everything from French press to drip, but true espresso grinding needs a finer range than most entry grinders reach, so check that before buying one for a portafilter machine. And footprint: most countertop burr grinders stand 13 to 16 inches tall with the hopper on, which is exactly the height that gets stuck under a wall cabinet with an 18-inch clearance.
A kettle with a gooseneck and a temperature dial
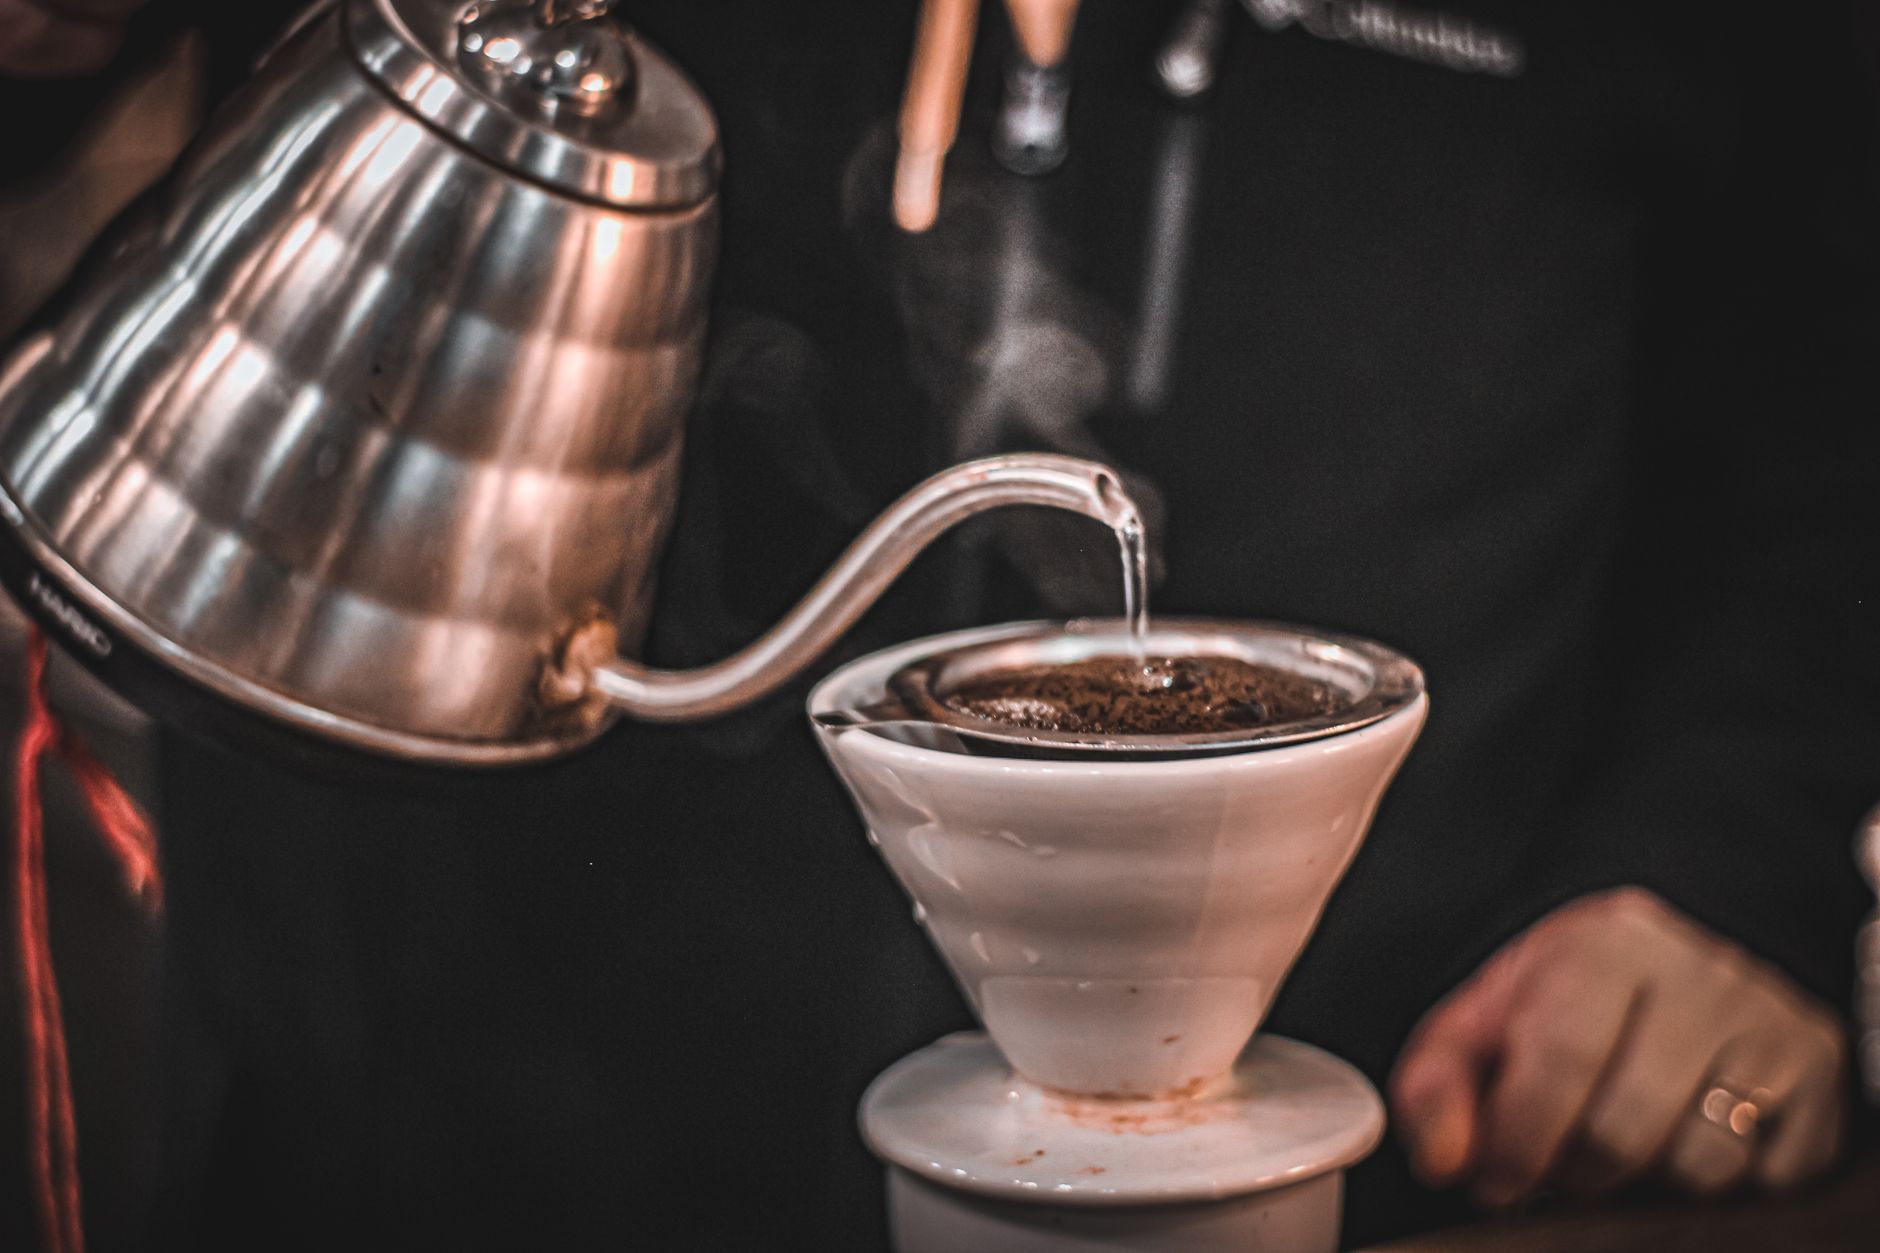
Brewing wants water somewhere between 195 and 205°F. Boiling water is 212°F, which scorches the grounds, and water that has sat for four minutes is under 190°F, which leaves half the flavor in the bed. A variable-temperature gooseneck kettle removes the estimating: set 200, walk away, come back when it beeps.
The gooseneck spout is not decoration. It slows the pour to a controllable stream so you can wet the bed evenly instead of blasting a crater in it. Capacity of 0.8 to 1.2 liters is the standard range and covers two pour-over servings, since a two-cup brew uses roughly 500 grams of water.
A scale that reads to a tenth of a gram
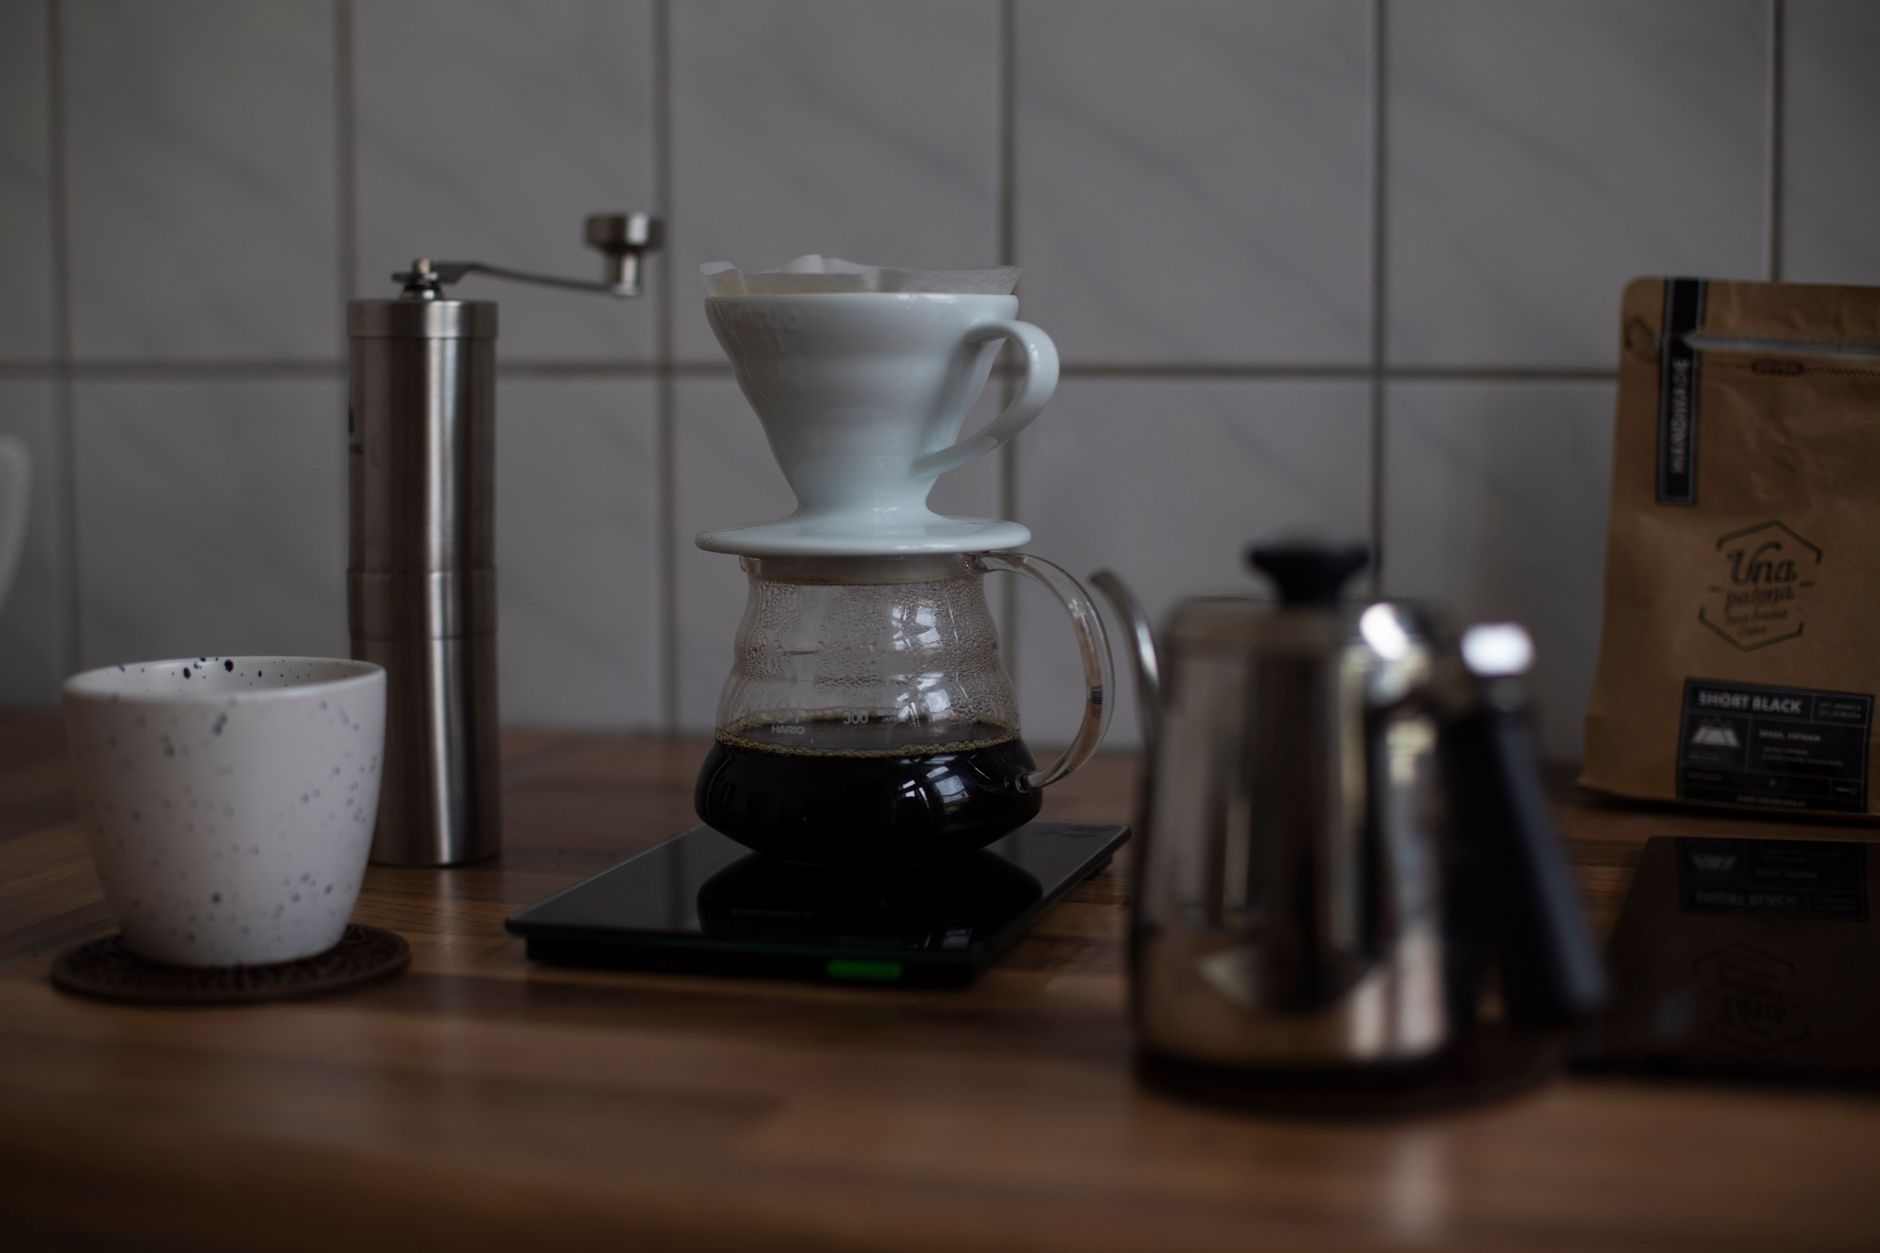
The scoop is the least reliable measuring device in the kitchen, because a scoop of dark roast and a scoop of light roast differ in weight by a noticeable margin. Weight fixes it. The working ratio for filter coffee is between 1:16 and 1:17 — 20 grams of coffee to about 330 grams of water — and once you know your number, the cup stops being a coin flip.
A 0.1-gram coffee scale with a timer is the standard pick over a kitchen scale, which usually rounds to the nearest gram. That rounding is fine for flour and too coarse for an 18-gram espresso dose. Look for at least 2 kilograms of capacity so the scale can hold a full carafe, and a flat top that a dripper won’t wobble on.
Water you don’t have to walk across the room for
Two separate problems here. The first is convenience — a machine ten feet from the sink means a pitcher, and a filtered carafe kept on the station is the usual answer.
The second is mineral content, which quietly decides how long the machine lasts. Water that’s too soft brews flat, water that’s too hard scales the boiler; most equipment is happiest somewhere in the 75 to 175 ppm range of dissolved solids. If your kettle grows a white crust, that’s the same deposit forming inside anything with a heating element.
Airtight canisters for beans, and honest sizing
Whole beans release carbon dioxide for up to two weeks after roasting, which is why a fresh bag puffs up. Storage has to keep oxygen out without fighting that. A vacuum-seal coffee canister with a plunger lid handles both — you press the inner lid down to the coffee line and push the headspace out as the level drops.
Size it honestly. A 12-ounce bag of whole beans takes up roughly a liter of volume, so a 32-ounce canister is the minimum that will actually hold a bag and a 64-ounce one gives you room to pour without spilling beans on the floor. Keep it out of direct sun and away from the range. And keep the original bag: the roast date is on it, and after four weeks the beans are past their best regardless of the container.
Pods and sachets follow the same rule of decanting, handled in more detail in coffee station organization.
Mugs, in a number that matches the shelf
The mug count that works is roughly double the number of daily drinkers, plus four for guests. Everything past that is a collection, and collections belong in a cabinet, not on the station.
For sizing: a standard 11- or 12-ounce mug is about 4 inches tall and 3.5 inches across at the rim, so a shelf bay of 9 to 10 inches lets you stack two deep. Cappuccino cups at 6 ounces stack three. Tall travel tumblers run 8 to 10 inches and won’t fit under anything designed for mugs, which is why they end up living in the cabinet below.
A tray, which is the real organizing tool
A tray does more structural work on a coffee station than any storage product. It draws a visible border, which stops the sugar and the spoons from creeping across the counter, and it makes the entire zone liftable in one motion when you want to wipe underneath. A wooden serving tray in the 12-by-18 or 15-by-20 range fits most setups; round trays at 14 to 16 inches suit a corner.
The convention worth following is one tray per function. Sweeteners and stirrers on one, mugs and spoons on another. Two small trays read as organized in a way that one large tray holding everything does not.
Something to handle milk
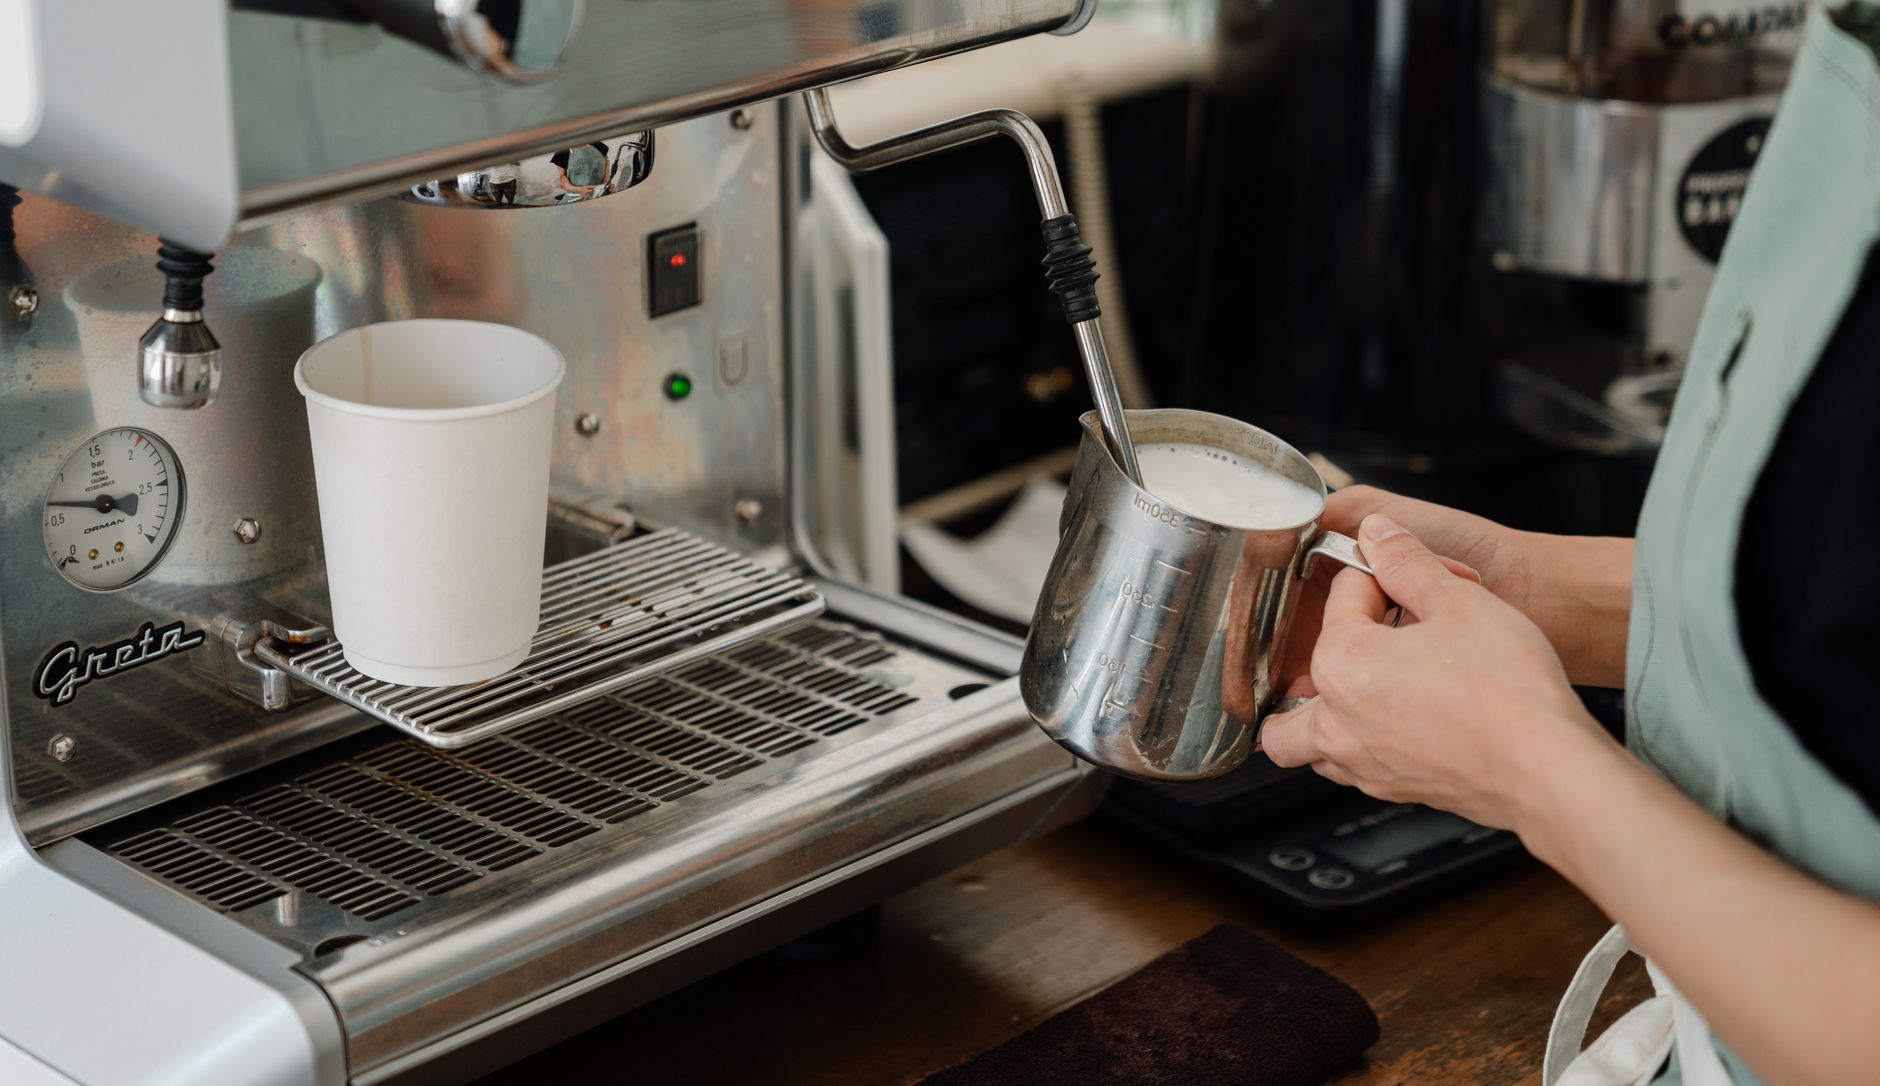
A stainless steel milk pitcher if the machine has a steam wand, a handheld frother if it doesn’t. Size by household: 12 ounces covers a single drink, 20 ounces covers two, and a pitcher that’s too large makes thin foam because the wand can’t get enough surface movement going. Fill to the base of the spout and no higher.
The temperature target is 140 to 155°F. Past about 160 the milk scalds, loses its sweetness, and no amount of technique brings it back. A clip-on pitcher thermometer removes the guessing until the pitcher-gets-too-hot-to-hold instinct develops.
A knock box or grounds bin
Wet grounds go somewhere, and if that somewhere is the kitchen trash across the room, the counter will collect a small brown ring where the portafilter gets set down instead. A knock box with a padded crossbar sits about 5 to 6 inches tall and takes a week of pucks. For drip and pour-over, a lidded container that holds spent filters until it’s convenient to walk them out does the same job.
A riser or tiered shelf
Vertical space is the only free space on a counter. A two-tier counter riser lifts the back row about six inches and lets you see the second rank of mugs and jars instead of excavating for them. This is the single highest-yield move on a narrow counter run, and it’s covered further in kitchen counter coffee station ideas.
One caution: don’t put a riser directly over a machine that vents steam upward from the group head or the brew basket. Moisture collects on the underside of the shelf and drips back down.
Light you can aim
Overhead kitchen lighting throws your own shadow onto the counter you’re working over. A warm strip in the 2700K to 3000K range mounted under the wall cabinet fixes the shadow and does most of the visual work in photographs, which matters if the station is going on Pinterest. Battery-powered puck lights avoid adding a second cord to a circuit already carrying a heating element.
One decorative object, not seven
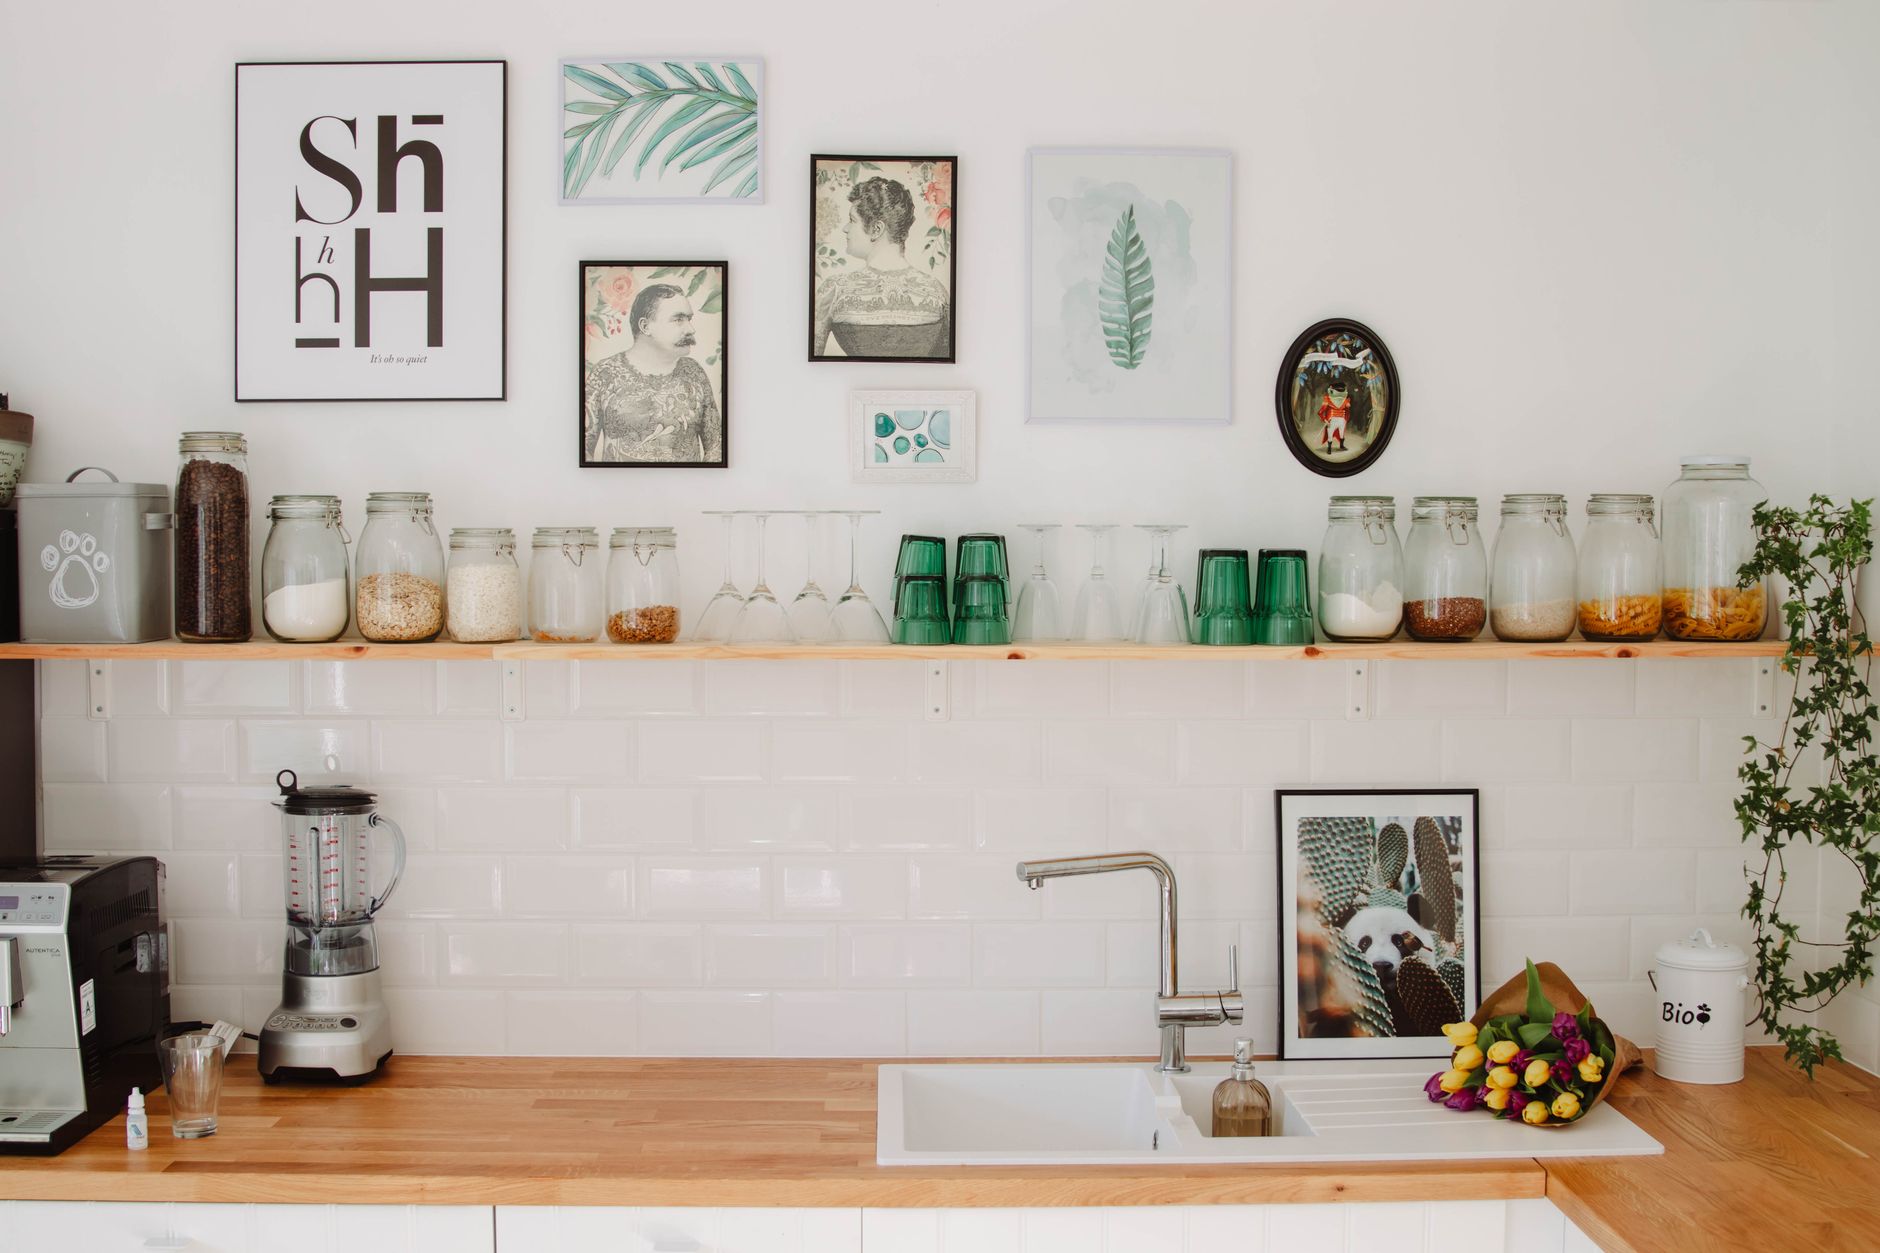
The styling layer is where most stations go wrong, because it’s the fun part and it has no natural stopping point. The working ratio is one framed piece or sign, one small plant or stem, and nothing else that doesn’t get used. Pothos and small eucalyptus stems tolerate the humidity near a machine; most flowering plants don’t.
Seasonal swaps go in this layer and only this layer — one changed object, not a redecorated counter, which is the approach behind fall coffee bar ideas.
The cleaning kit nobody buys until it’s needed
Last on the list, first thing that goes wrong. Descaling solution is the item to have on hand before the machine starts flashing at you — mineral scale builds in the boiler for months before it affects flow rate, and hard-water households generally run a cycle every two to three months versus every six on filtered water.
Alongside it: a dedicated microfiber cloth for the steam wand, which gets wiped immediately after every use, and a stiff group-head brush for espresso machines. None of it is interesting. All of it decides whether the machine is still working in year four.
What this looks like assembled
Machine, grinder, kettle, scale, canisters, mugs, tray, pitcher, knock box, riser, light, one plant, cleaning kit. Thirteen things that earn their footprint, and a fourteenth — the surface holding them — which is worth choosing as carefully as the machine. The coffee bar cabinet guide covers that side of it.
Some links in this article are affiliate links — if you buy through them we may earn a commission at no extra cost to you. Details.